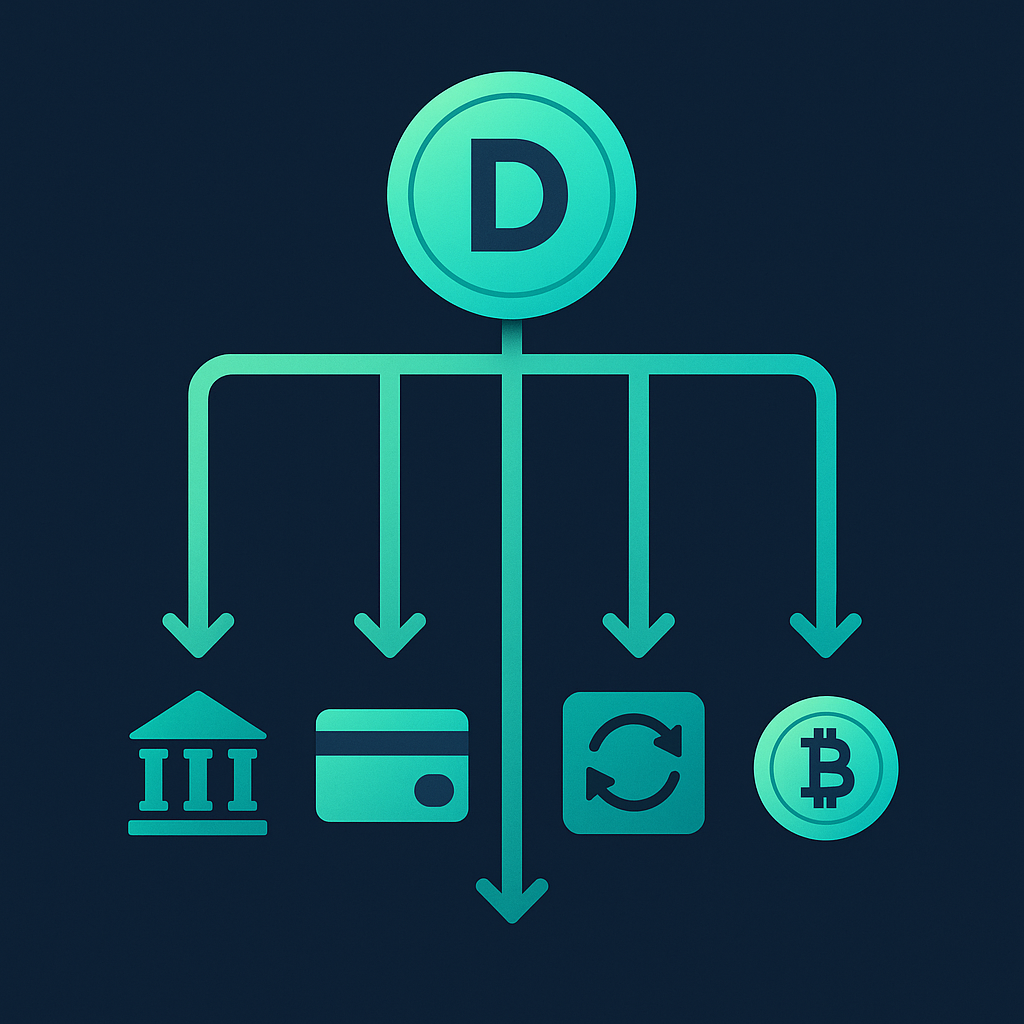
"How do I cash out this DEPIX?" is one of the most common questions. The answer has multiple layers: you can convert to BRL in a bank account, use it as an international card, swap for Bitcoin/USDT, or even keep it as a reserve in DEPIX (pegged to the Real). Each path has its fees, timing, and best use cases. This guide compares the 4 main ones.
- Wallet Pix Button — BRL to your bank account. Fast, CryPix fee.
- Swap to USDT — dollarize for global use, no BR bank needed.
- BRSwap + Ether.fi — top up a crypto card to spend worldwide.
- Peg Out to Bitcoin — convert to BTC mainnet for reserve or exchange.
- You don't need to pick one — combine according to your cash flow.
First: you're ALREADY in control
Important to understand that "cashing out" of PixGo isn't like cashing out a bank. Your DEPIX is already in a self-custody wallet (you have the 12 seed words). You decide WHERE to take it — no permission needed. PixGo is the PIX → DEPIX bridge, and after that the asset is fully yours.
Path 1 — Wallet Pix Button (BRL to bank account)
The most direct path for those who want to go back to BRL. Works inside PixGo Wallet, using integrated CryPix.
| Attribute | Detail |
|---|---|
| Speed | Seconds (PIX is instant) |
| Minimum | R$100 per operation |
| Maximum | R$5,930 per operation (CryPix rule) |
| Fee | CryPix fee (shown before confirm, varies by amount) |
| Any bank? | Yes, any PIX key in Brazil |
| For yourself or others? | Both |
Full details in Wallet Pix button article.
Path 2 — Swap to USDT/USDC (dollarization)
If you want to keep value in USD instead of BRL (protection against BRL inflation, or to use on international exchanges/cards), swap DEPIX for USDT or USDC inside PixGo Wallet.
BRSwap minimum: 15 DEPIX per operation. For smaller values, stick to internal Liquid Swap.
Path 3 — Ether.fi crypto card (spend globally)
To spend as an international card (credit function) anywhere in the world (online, physical, travel), top up the Ether.fi card with USDT/USDC coming from PixGo Wallet.
Path 4 — Peg Out to Bitcoin (BTC mainnet)
Want to convert DEPIX to real Bitcoin (mainnet, not L-BTC)? Use Peg Out via PixGo Wallet internal Swap (Bitcoin network).
Comparison of the 4 options
| Path | Speed | Cost | Best for |
|---|---|---|---|
| Wallet Pix Button | Instant | CryPix fee (visible) | Back to BRL in BR bank account |
| USDT/USDC Swap | Seconds | Swap fee (2% from DEPIX on BRSwap) + network fee | Dollarize, global use |
| Ether.fi card | Minutes (after topup) | Swap + card issuance | Spend abroad as card |
| BTC Peg Out | 10-30 min (BTC confirm) | Bitcoin network fee | Bitcoin reserve, exchange |
What's NOT a cash-out path (watch out for myths)
- "Sell DEPIX on Brazilian exchange" — DEPIX is not listed on BR exchanges as a trade asset.
- "ATM withdrawal" — doesn't exist. Convert to BRL via Pix Button and withdraw at bank.
- "Send DEPIX to Nubank/Itaú directly" — BR banks don't receive crypto. Always goes through DEPIX → BRL conversion.
Practical summary
- BRL: Wallet Pix Button (instant, min R$100)
- USDT/USDC: internal Liquid Swap or BRSwap cross-chain (min 15 DEPIX)
- International card: BRSwap → Ether.fi (KYC + correct network)
- Bitcoin: Peg Out via Wallet Swap (BTC mainnet)
- Combine paths based on cash flow
- ALWAYS confirm network + address before sending crypto
- Self-custody = you control 100%
Related reading: Wallet Pix button in detail · Liquid Gas Station · Fees compared